
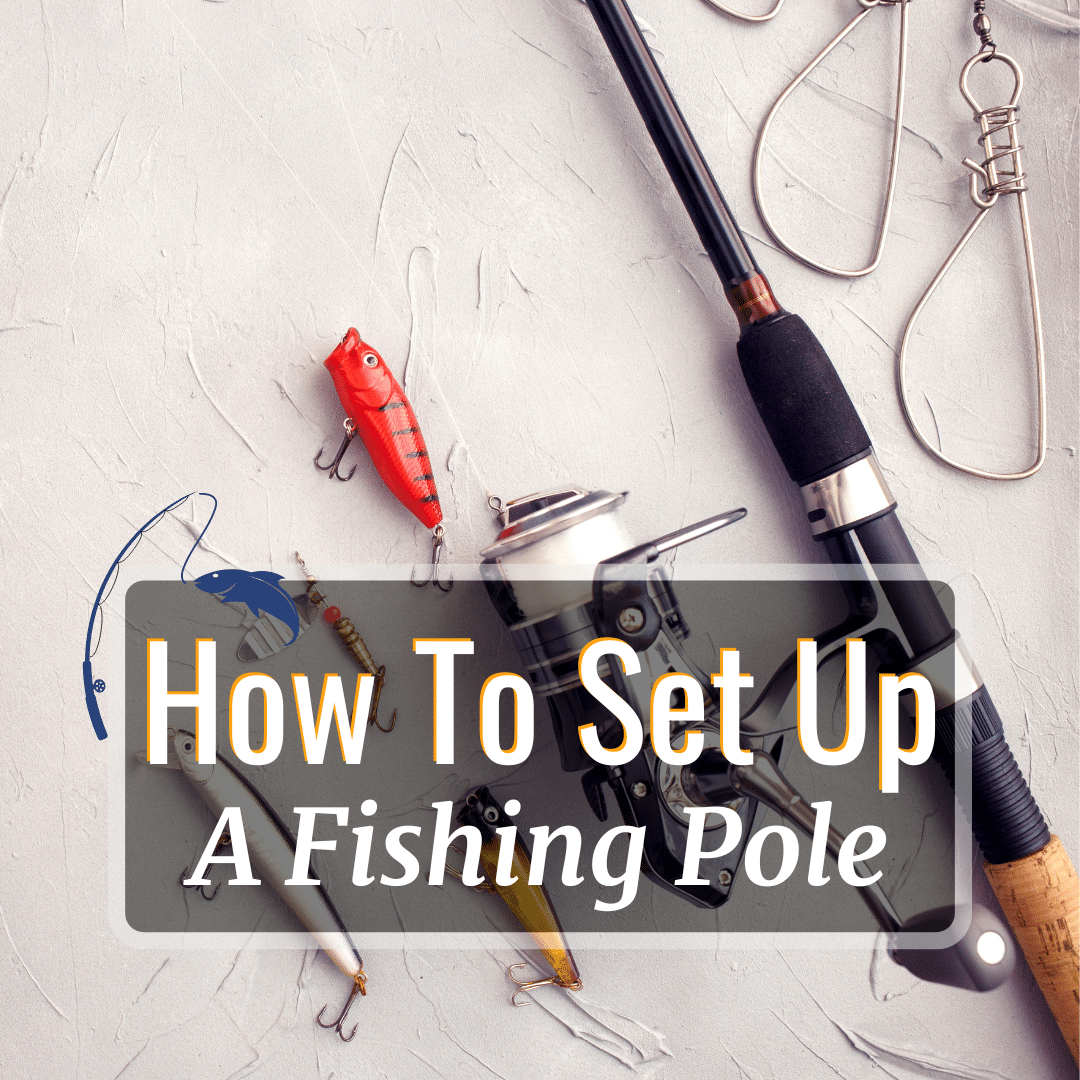
Looking to learn how to set up a fishing pole? If so, then you’re in the right place.
Before we begin though, let me clear something up. This article covers how to set up a spinning rod and reel, not baitcasters. Trust us when we say they’re much easier for beginners. You’ll also have much fewer complications like line tangles.
Spinning tackle is also more versatile. Whether you’re fishing for bass in freshwater or mackerel in the surf, spinning rods and reels can get the job done.
That’s why we decided to teach you how to set up a spinning rod and reel from start to finish. We’ll start by assembling the rod and reel, then move on to threading the fishing line, before attaching the lure.
Lets get started!
What You Need Before You Start
Here’s all the equipment you’ll need:
- Fishing line
- Spinning rod
- Spinning reel
- Scissors
- Lures
Those are the bare essentials. This list isn’t exhaustive, but as long as you have the items listed, you’re all set to begin setting up your pole!
Assembling Your Rod and Reel
Now we’ve gathered our gear, let’s start with the first and most often overlooked step: cleaning your rod.
Step 1: Clean Your Rod
If your rod’s been out of action for a long time or exposed to dirt or saltwater, cleaning it before use will help prevent wear and tear, not to mention maintain its durability. Either way, if it’s your first time setting up the rod, it’s always a good idea to clean it thoroughly.
For this, you’ll need a slightly wet cloth, a bit of mild soap, and just a slight bit of elbow grease.
First, wiping down the fishing rod gently to remove any dirt or grime. Make extra sure to check the rod’s handle and guides too, as these areas tend to accumulate the most dirt.
For any remaining dirt, a mild soap will get the job done. Just put some soap on the damp cloth and give the rod another thorough wipe-down.
Once that’s done, rinse the soap off with freshwater and give your rod one last wipe with the damp cloth.
And don’t forget to dry your rod thoroughly after cleaning. Any moisture hanging around can damage the rod.
Step 2: Put Your Rod Together
If your fishing pole has two or more pieces, here’s how you go about it:
First off, locate the ferrules on your rod sections – those are the small joints that allow you to connect each piece to the corresponding section. Your multi-piece rod should have come with its own guide, so follow that guide to join the pieces.
Next, check the guides on each section of the rod. They should be perfectly aligned, forming a straight line from the first guide to the last guide. Misaligned guides will drastically lower your rod’s performance so make sure they’re aligned.
Also, take care to never force the sections together or twist them too much.
Step 3: Unscrew The Reel Seat
Your rod will either consist of ring or a hinge located at the transition point between the handle and rod.
To unscrew it, look for a round locking nut that can be twisted. Unscrew it until it becomes loose enough to slide up and along the handle. Don’t detach it though, we only need enough space to fit in the reel.
Step 4: Place the reel foot into the reel seat and tighten the reel seat
The reel foot is an extension at the bottom of your fishing reel. This is what we will fix securely into the reel seat on your rod.
Begin by placing the reel foot into the opening of the reel seat. Slide it along until it fits snugly into position.
Next, tighten the reel seat to secure everything in place. Rotate clockwise, on the locking nut until you feel that your reel is firmly locked in position. To ensure the reel remains stable it’s important not to overtighten it. Tighten it just enough to hold the reel steady.
Lastly, give the reel a spin. Check for any wobbling or looseness. If you notice any wobbling or looseness, you can address it by loosening the locking nut adjusting the reel foot and then tightening it again.
Step 5: Make It For Right Handed Or Left Handed
Most spinning reels can be customized for either right handed or left handed operation based on your preference.
To detach the handle, you may need to unscrew it or press a release button depending on your reel model. If there is a screw involved you’ll usually find it in the center of the handle. Remove it by turning counterclockwise. Alternatively, if there is a release button look for it around the handle. Pressing this button should allow you to remove the handle easily.
When attaching the handle to the side of the reel, simply reverse these steps. Insert the handle into its designated opening. Then, fasten it by screwing clockwise or snapping into place (depending on your reels design).
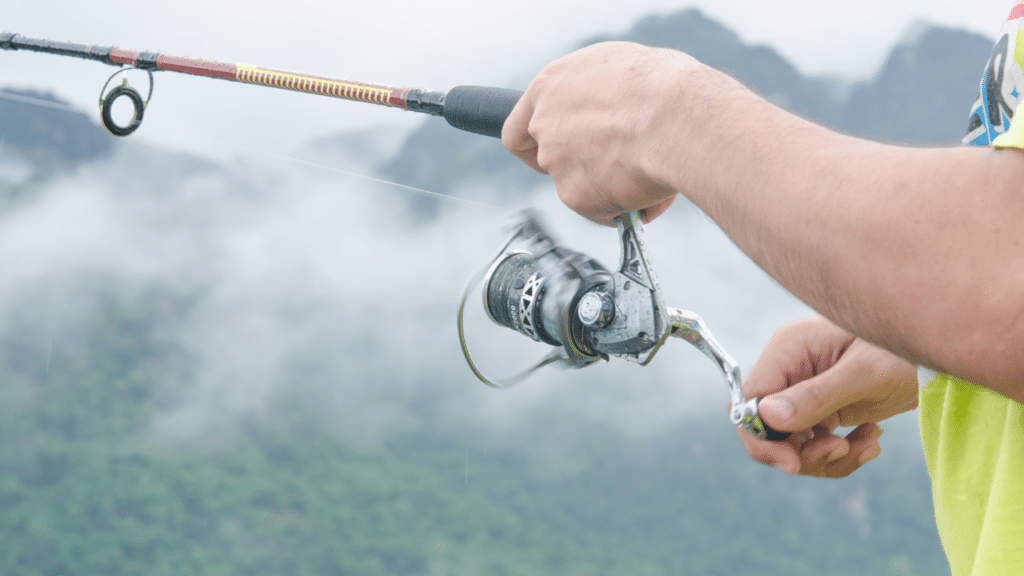
Threading Your Fishing Pole (Set Up The Line)
Here’s where where your rod actually starts to look and feel like a fishing rod – putting line. You won’t need much for this section, just have your fishing line ready.
Step 1: Note The Direction Of Your Spool
To figure out which way your spool spins, simply turn the handle as if you were reeling in a catch. Watch the way the bail – the part that flips back and forth on your reel – rotates.
If your reel spool rotates clockwise when you’re turning the handle, the line should also wind onto the reel clockwise. At the same time, it should be unwinding from the filler spool in a counterclockwise direction.
Step 2: Open The Bail
The bail refers to the metal arm on your spinning reel and it controls the flow of the fishing line. When the bail is down and closed, it locks the line. When the bail is flipped up or away from the reel, it frees the line, allowing it to be released.
To thread your line, you’ll need to flip the bail up or away from your reel until it clicks into place. It should stay in place.
Step 3: Thread The Line Through The First Guide
Begin by locating the guide near the reel seat at the base of your fishing rod. Thread the fishing line through this guide ensuring that you move from the rod tip towards the rod handle. Then, securely attach the line to the spool by tying an arbor knot.
Here’s how it’s done:
Once that’s done, proceed to close the bail.
Step 4: Spool Your Reel
Start by placing your reel on a surface such as a table or on the floor.
Firmly hold onto your fishing line between your fingers to prevent any slipping or twisting while winding it onto your reel.
With both spool and line in place, turn the handle of your reel consistently and smoothly. This will allow for the line to wind neatly around the spool.
A common mistake made by beginners is either overfilling or underfilling their reels. It’s important to strike a balance and stop filling when you reach 1/8 inch below its edge. If you’re unsure, about judging this don’t worry much. Just follow the manufacturer’s recommendation.
Step 5: Set Up Your Line
From where you left off at the first guide in step 3, continue threading the line through the rest of the guides on the rod, working your way towards the rod’s tip until you reach the last guide.
Step 6: Close The Bail
The final step is to flip the bail down or towards your reel.
Once this is done, it’s time to attach the finishing touch to your rod – a lure.
How To Attach A Lure
Choosing and attaching the right lure to attract fish is akin to selecting the right bait for your trap. It’s an art that requires finesse and a little know-how, which we’re going to go over in this section.
Step 1: Thread Your Line Through The Lure
You have a variety of options when it comes to lures: spoons, spinners, jigs, plugs, soft plastics, and flies, to name a few. Each one has its unique traits and strengths for different fishes and situations.
Each lure will typically have an eye or a hook. All you need to do is pass the end of your line through it.
Step 2: Practice Knot Tying
A well-crafted knot ensures your artificial bait is securely attached to your line. This way, your lure won’t come off during your cast or when a fish strikes.
There’s an array of knots used in fishing, each having a specific use. Some commonly used fishing knots include the clinch knot, the improved clinch knot, the palomar knot, the rapala knot, the trilene knot, and the loop knot. Some are better suited for tying on lures, while others are best for joining two lines together.
Learning to tie these fishing knots is a rite of passage for every angler. So how do you master them? Practice, practice, practice tying knots. Knot tying is a tactile skill, one learned by taking action rather than watching or reading. As long as you keep at it, in no time at all, your fingers will be nimbly tying fishing knots like a seasoned angler.
To being, check out our guide that teaches you how to tie all the essential knots for fishing.
Step 3: Tie A Knot
Once you’ve tied the knot, make sure to tighten it. Here’s a helpful tip; before tightening the knot, moisten it slightly with saliva or water. This will aid in the sliding of the knot into place while minimizing any friction that could cause damage to the line.
Now, trim off any line protruding from the knot using a pair of scissors. Be cautious not to cut it too close to the knot so as not to compromise the knot’s security.
Step 4: Snaps And Swivels
Snaps are metal clips that provide you with an efficient way to switch lures without having to tie and untie knots repeatedly. On the other hand, swivels are metal connectors that allow your lure to rotate freely. This prevents your fishing line from twisting or tangling as your lure moves through the water.
To use either of these tools, simply attach one end of the snap or swivel securely onto your fishing line using a knot. Then fix your lure onto the end of either the snap or swivel.
Using snaps and swivels brings convenience, versatility and reduced line twists. However it is worth noting that there are drawbacks associated with their use.
For example, the presence of these lures can sometimes make cautious fish hesitant. Their weight also diminishes the natural movement of bait. The thing is, in most cases, the benefits far outweigh any drawbacks, making them an essential component of any anglers tackle box.
Step 5: Start Fishing
At this point, your fishing pole is properly set up and you’re ready to start fishing.
First, you need to cast your lure out.
Flip the bail open, allowing some line to unravel so that your lure hangs a few inches away from the rod tip.
To cast, hold your rod in your dominant hand, lift your rod behind your shoulder, and swing it forward in one smooth motion. Once line stops leaving the spool, flip the bail back to its closed position and reel in any slack or loose line.
From here, you can either slowly retrieve your line to make the lure seem like it’s swimming, or let it sit. If you choose the former, turn the reel handle at a consistent speed. The speed will depend on the type of lure and its intended action.
From here on, watch closely for any signs of a bite, such as a pull, jerk, or bend in the rod. The moment you notice a bite, you need to set the hook. Here’s how
Give the rod a sharp, firm, upward lift to lodge the hook firmly in the fish’s mouth. Then, begin reeling it in.
Keep your fishing rod pointed upwards and make sure there is tension on the line at all times to prevent the fish from escaping.
Once the fish is out of the water, dehook the fish with your hands. I would strongly encourage you to wear fishing gloves to avoid getting your fingers and hands scratched or even impaled. Fishing gloves provide protection against teeth, scales, hooks and even fishing line, so make sure to invest in a good pair
Warnings
When setting up your fishing rod, certain mistakes can ruin the entire fishing trip. Here are some such common mistakes to avoid:
1. Overfilling or underfilling your spool with line. This can cause issues such as bird’s nests, reduced casting distance, and even line breakage. I for one am guilty of this mistake. My very first trip, I wanted to fill my reel with as much line as I could, because I thought it was always better to be safe. I ended up being unable to cast further than 10 feet, and I got quite a few line twists.
2. Using mismatching or damaged equipment. This not only impact your performance, but is extremely dangerous. On one of my first few fishing trips, I used a rod that was too heavy for my reel. Unsurprisingly, the rod snapped at the base, and the reel literally flew off and hit me in the face. I ended up with a bruise and a cut on my cheek.
3. Neglecting knot tying. When you tie weak or sloppy knots, it’s only a matter of time before you lose your lures and your catch along with it. Tying knots is boring, but it’s kind of like free throws in basketball. It’s a skill that won’t be in use all the time, but you have to be able to perform when called upon. Also, remember to always make sure the knots are tight and solid before you start fishing.
4. Forgetting to open or close the bail when casting or retrieving. This is quite a common beginner’s mistake. An open bail during retrieval can cause the line to tangle. And forgetting to open it during casting can lead to a sudden halt to your cast, which could damage your rod. Always check the position of your bail before each cast or retrieval.
Conclusion
Fishing is more than just a hobby for many – it’s a form of relaxation and a great way to hone patience and precision. Plus, it’s a hobby that, with proper care and maintenance, won’t cost you much beyond the initial costs to purchase the fishing gear needed.
As you venture into your fishing journey, make sure to practice your fishing pole setup routinely. Try a variety of lures, master various knot-tying techniques, and explore different casting and retrieval techniques. Every location and species is unique, and adapting your approach only makes fishing more fun.
Just remember that setting up a fishing pole properly is the first step to doing any sort of fishing. After all, the rod and reel are the base on which all fishing depends on, so make sure you do it well, and do it right. With that, best of luck on your first fishing trip!